Now I'm no expert on photo editing (or taking pictures either), but with most of my food blog photos I have to edit them to look more enticing. Also, with pictures of Camden I want to frame, they've got to be edited usually too. Taking pictures of a squirmy baby doesn't always produces the best picture right away.
I've read several of my favorite food bloggers suggestions and tips (always shoot in natural lighting if possible, crop when necessary, adjust the black and white, etc). From those tips I have discovered that picture editing does not make the picture what it is. You've got to shoot a decent photo, which is in the eye of the beholder of course. Editing is for enhancing the color and cropping mainly.
Take the pictures below for example. I'll leave them linked so you can click to enlarge them.
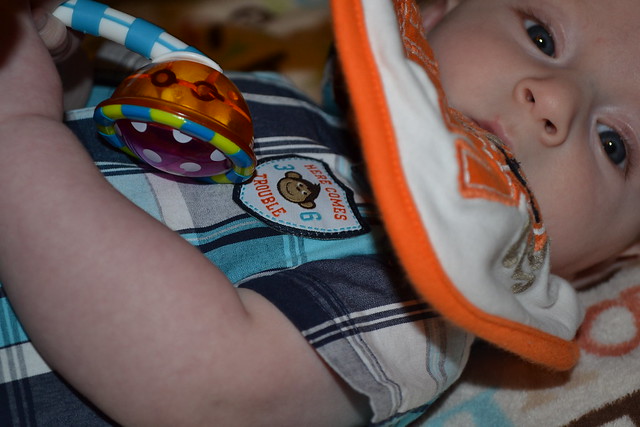
Before Editing

After editing
My first photography class in middle school taught me one thing: to get the proper exposure in your pictures, make sure you can see the whitest white and blackest black in the picture. That was the best advice I could have ever gotten!
For the picture above, I increased the brightness, shadows, contrast and highlights a tad bit. Then I messed with the black and whites to make them "pop out" more. If the color is off, you can always mess with color, tone, etc too, but I didn't edit that here. It took me all of 20 seconds to edit this photo .. with a FREE program on my computer. I know a lot of people use $300+ Photoshop, which is great if you can afford it. If not, use what you have. On my computer I have Windows Live Photo Gallery. From there you have basic editing and can even make black and white pictures.
So use what you have and mess around. I just figured out in the past few days how to enhance the black and white in the pictures so you'll never know until you try something out.
No comments:
Post a Comment