Shopping for curtains always makes me turn into the crazy lady. Said crazy lady doesn't like just any curtain design or paying $80+ for some curtains she barely tolerates. So with my new sewing skills (not bragging, I finally figured out how to thread the bobbin so yeah..), I decided to make a few trips to JoAnn Fabrics to see what kinds of decor fabric they have. I'm really not sure what the different types of fabric are at this point nor do I really know what I'm talking about but I do know this is one of the easiest projects I've ever tackled with my sewing machine! I'm going to break this down step-by-step on how to make some beautiful curtains for your home.
First, supplies:
~ 3 yards of 54" preferred fabric (2)
~ sewing machine
~ all-purpose thread in preferred color choice
~ bobbin
~ a good pair of fabric scissors
~ pins
~ measuring tool (measuring tape works just fine)
~ and the tools listed below...
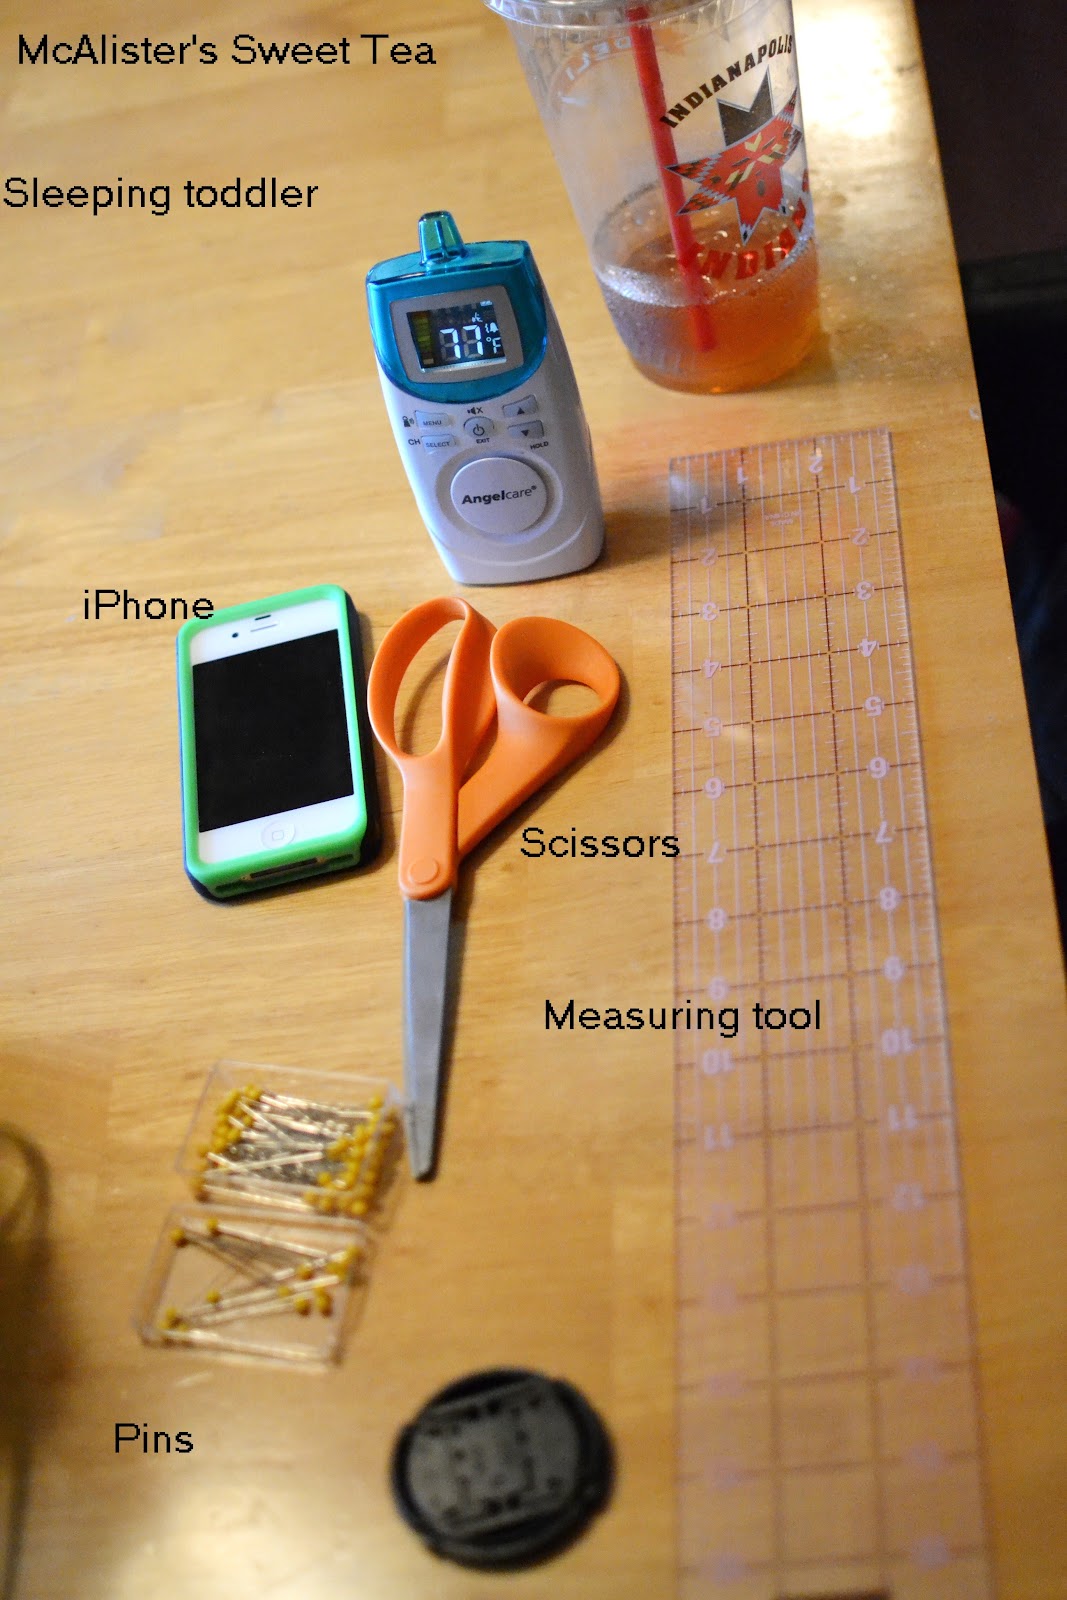
.. Okay, so you don't need the sweet tea (athough I highly recommend it) .. ;)
And the iPhone is purely for music .. and looking up sewing how-to's on youtube.

Okay, so let's get started sewing! In the picture above, I have displayed a picture of the settings that I used for these curtains. It will probably be different for each different machine and fabric, so please play around with the settings with a scrap piece of fabric (same material) to adjust as necessary.
STEP ONE: Lay the fabric out so that you have easy access to the sides (do this one side at a time).

STEP TWO: Fold over the edges about 1/2-inch and press with hands (or use a warm iron and steam press it for better results).

STEP THREE: Fold over the same edge again about 1/2-inch and press with iron again.

STEP FOUR: Pin pin pin! I cannot stress this enough! Pin everywhere and often. There is no such thing as too many pins.

Do this all the way down each side of the panel(s).
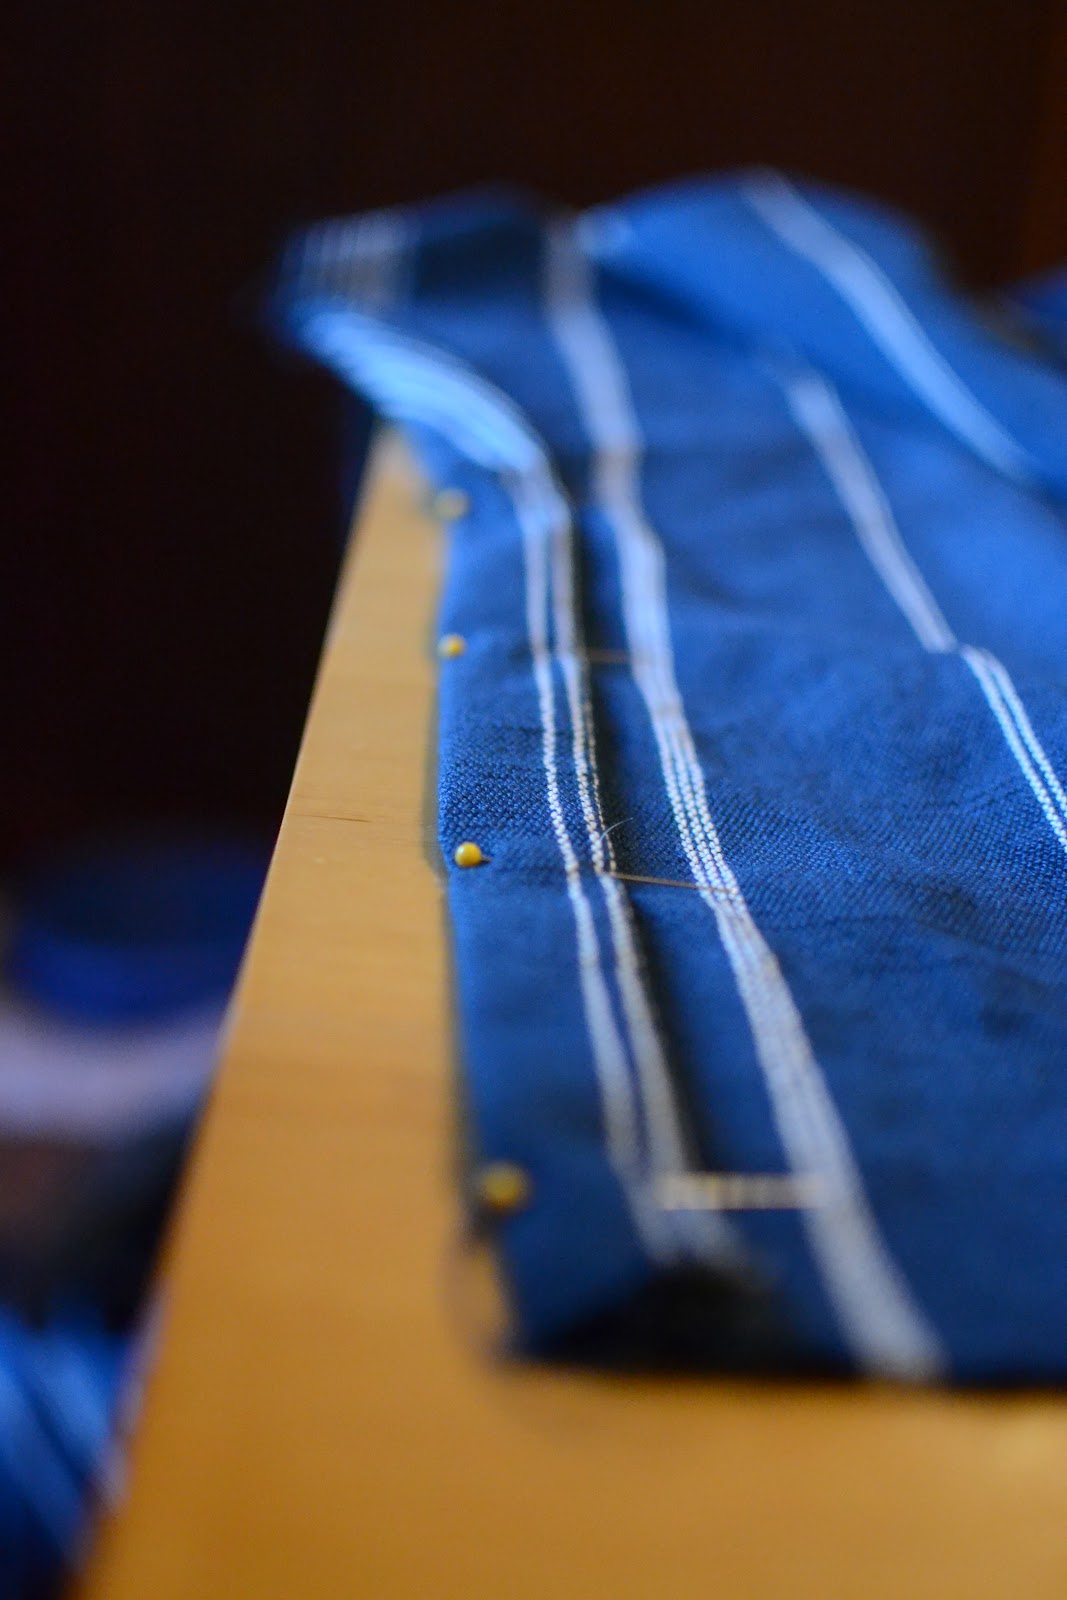
STEP FIVE: Place the fabric in the machine and sew straight down the inside edge of the folded side(s). Sew this with the folded edges on top (so that you can see where you're sewing in regards to the edge of that fold).

Sew all the way down the edge(s) and don't forget to back-stitch at the beginning and ends!

Now to sew the top hem.
STEP SIX: Lay fabric on the floor flat with the folded edges facing up.

STEP SEVEN: Fold the top edge over by about 1/2-inch and press with a hot iron.

STEP EIGHT: Fold the top edge over again and make a 4-inch top panel. Steam this edge with the hot iron as well.

Be sure to measure because you don't want it to be uneven and look awkward.

STEP NINE: Take your measuring tool and slide it across the top of the panel and pin the top in place as you go. I preferred to pin the top and the bottom (just in case) but you'll only be sewing on the bottom.

STEP TEN: Sew a straight line across the bottom part of the 4-inch top panel. See red line in picture below.

You now have made a straight curtain panel for a rod!

STEP ELEVEN:
Cut the fabric to length. Add approximately 5-6 inches extra.
STEP TWELVE:
Repeat steps 7-10 for the bottom hem.
If you're like me, and want to take it just a step further to make it look "fancy", then I would invest in some grommets. They're very easy to do, only take a few extra minutes to put on, and give your curtains a little something extra.

Just a little tip from doing the grommets: I would suggest placing the two end (outside) grommets in place first and keeping them within about 2 inches of the edge because if it's too long, it will dramatically hang over and not look right. You'll thank me later for this little tip. :)
... and your final product ...

Easy, simple curtains.


