Showing posts with label sewing. Show all posts

Wednesday, June 26, 2013

Sewing tutorial: Floor Cushion (toddler)

 
A long, long time ago in a far away land known as life, I pinned this tutorial on how to make a pouf or floor cushion. With Cam's upcoming birthday I felt like I should make him something. Yeah, I know the bicycle and binoculars were cool and all, but I wanted something more personal. He always seems to love watching movies (or rather one, The Incredibles) so I figured a floor cushion/pillow would be perfect! (Next project is a bean bag!)
 
 
Materials needed:
 
* 1 yard home décor fabric
* 2 packages 1/2" premade piping
* contrasting thread
* 16-24 oz. fiberfill
* a napping toddler and approximately 1-2 hours
 
 
Step one:
Lay out your fabric and fold so that the shorter ends are together.


Step two:
Draw (w/pencil) a 17" diameter circle on the wrong side (or back side) of the fabric. Cut out; you should have two since the fabric is doubled over.
*Note: using a compass makes this step extremely easy


Step three:
Cut out two handles 3x12"
Cut one strip of fabric* (for the sides) 9x51.5"
*Note: this may need to be two strips sewn together (see next step)


Step four:
Sew the two 9" strips of fabric together if they aren't long enough.
I highly recommend sewing together at a point so that the fabric matches as best as possible. You'll thank me later.


Step five:
Pin piping to the right side (front) of each of the 17" circles making sure the raw edges of each are aligned.
 
Using a contrasting thread (to the fabric color), sew along the existing stitching on the piping. 
 
Sew piping on both sides (lengthwise) onto one of the handle pieces in the same manner.


Be sure to overlap the ends like so:


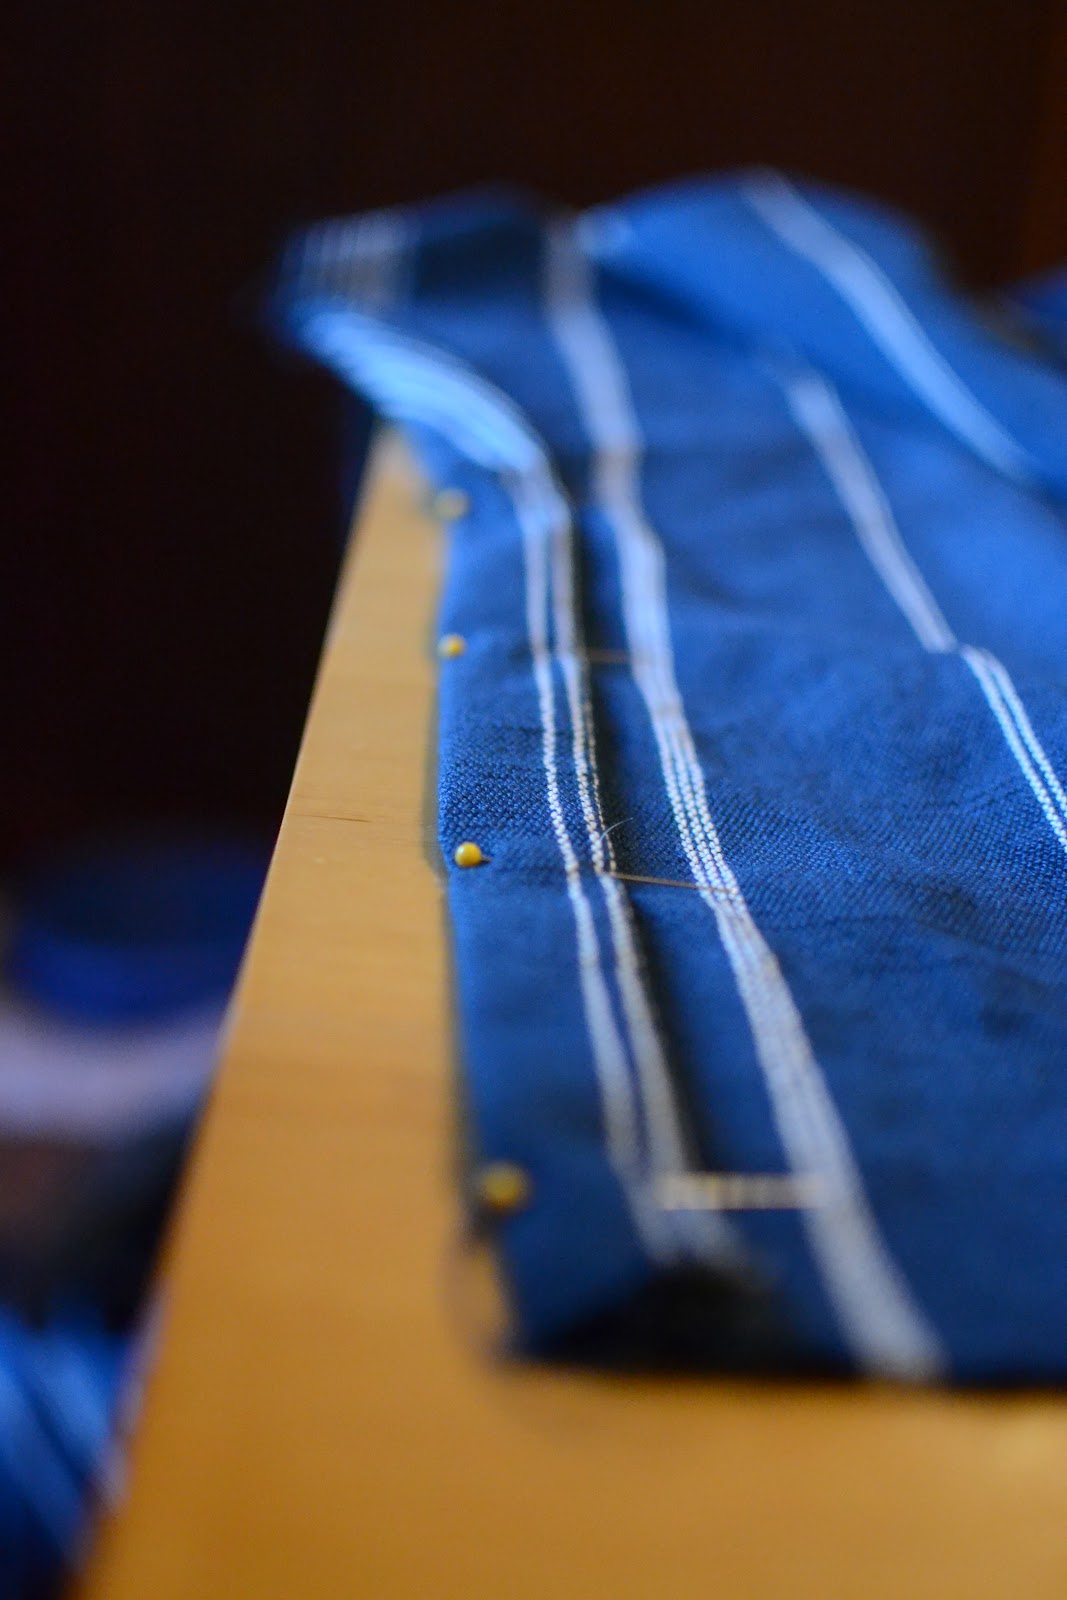
There's no such thing as too many pins:


Step six:
Finish the handle by placing the piece with no piping onto the piece with piping, with the right sides facing together/inward.
 
Sew around all edges along the existing stitching, except one of the shorter edges.
 
Flip inside out, fold edges inward, and sew open edge together (don't worry you can hide this stitching later).
 
 
Step seven:
Carefully lay the 9" side piece on top of one of the 17" circle pieces, right sides together facing inward. Don't pull too hard and leave about 1" on each short end free.
 
Pin the raw edges together around the circle and 1" free edges together.
 
Sew a 1/2" seam along the short edge to sew the sides together. Then, sew along the existing stitching to sew the side piece to one of the circles pieces 


Step eight:
Flip cushion inside out and position the handle where you want it on the right side of the side fabric. Sew into place leaving some slack.
 
*If you sew over the existing stitching to close the end of the handle, this will then become part of the "decoration" of the fabric.
 
* Sewing an X and double stitching the edges helps to reinforce/strengthen.


Step nine:
Flip inside out again and pin the second circle onto the raw edges of the sides. Leave an opening wide enough to turn inside out and fill with fiberfill.


Step ten:
Flip inside out and fill with fiberfill.


Step eleven:
Hand stitch closed and enjoy!


Here is another reason why it helps to sew the edges so that they match as best as possible (hiding the seam better):


This is so simple and takes 2 hours or less .. even with a beginner seamstress like myself (and no compass to make circles .. you don't want to know). Now go make your kid a movie pillow, or your neighbor's kid, or my kid. ;-)
 
**Edit/Note: If you have a toddler, surely you have a sit-and-spin. If not, find one and the bigger, bottom circle is about 18" so I used that for a second floor cushion and it worked great, but I'd use an additional inch or two for the side fabric, just in case the circle is a bit more than 17" around.**
 
Voila!
 

Friday, September 28, 2012

DIY: Curtain Panels

Shopping for curtains always makes me turn into the crazy lady. Said crazy lady doesn't like just any curtain design or paying $80+ for some curtains she barely tolerates. So with my new sewing skills (not bragging, I finally figured out how to thread the bobbin so yeah..), I decided to make a few trips to JoAnn Fabrics to see what kinds of decor fabric they have. I'm really not sure what the different types of fabric are at this point nor do I really know what I'm talking about but I do know this is one of the easiest projects I've ever tackled with my sewing machine! I'm going to break this down step-by-step on how to make some beautiful curtains for your home.

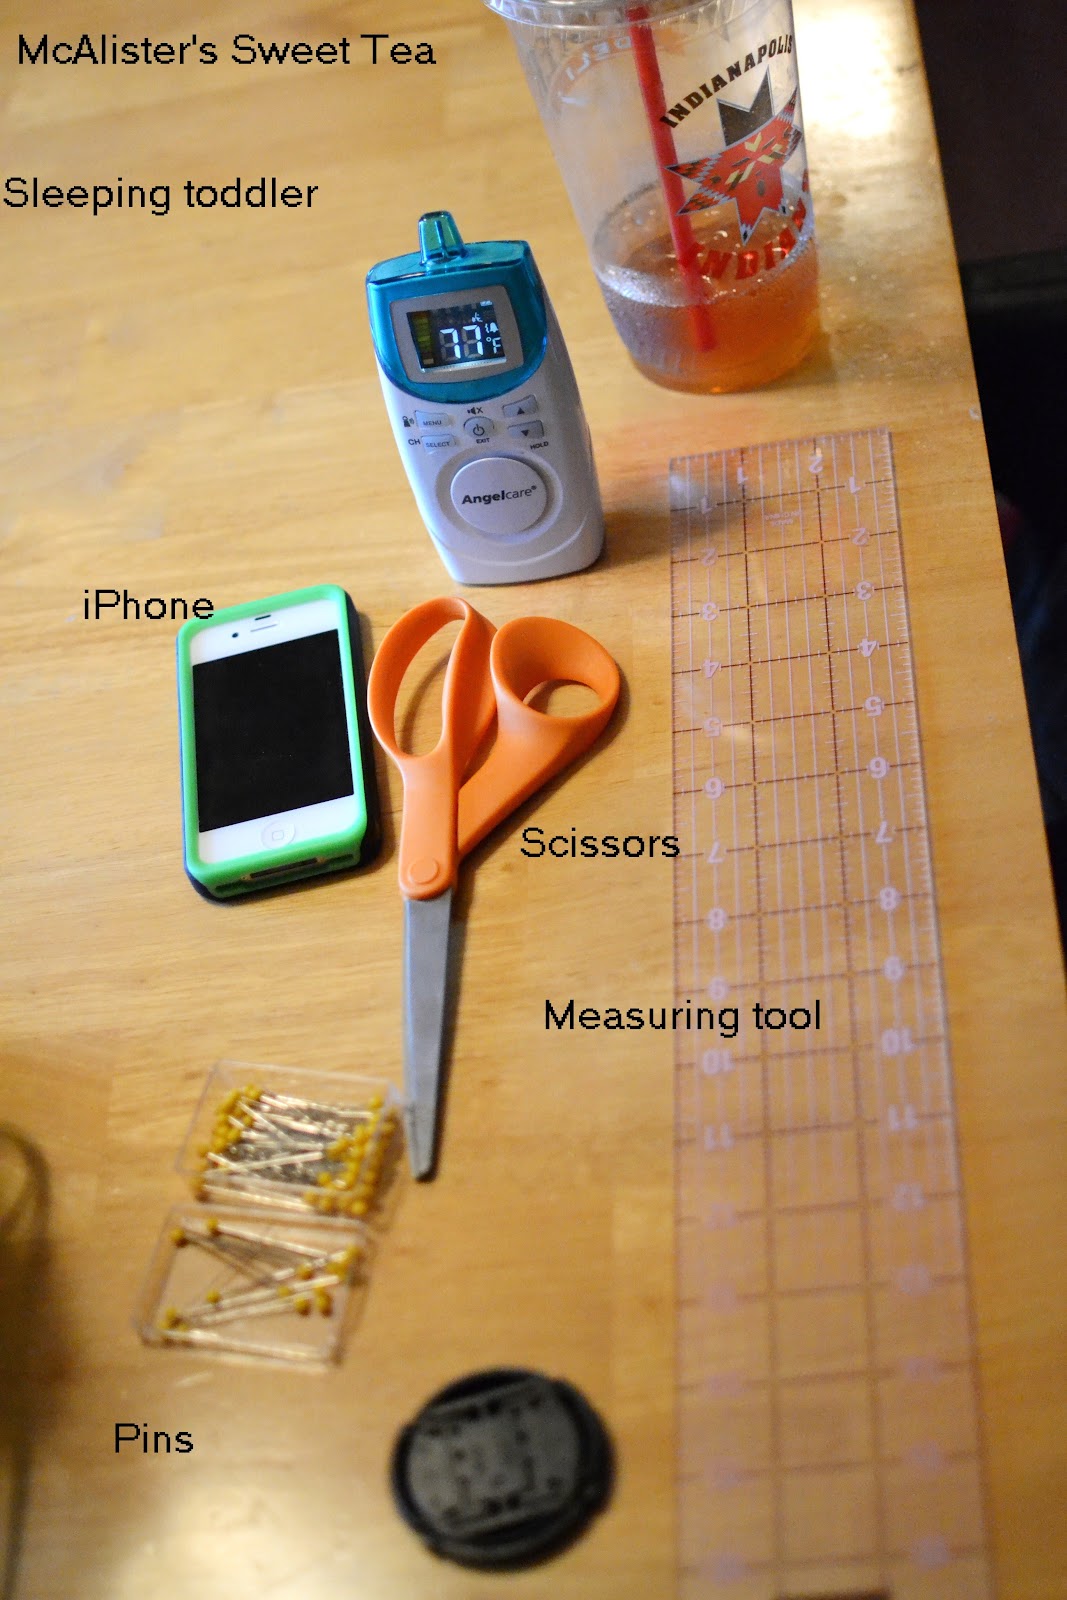
First, supplies:

~ 3 yards of 54" preferred fabric (2)
~ sewing machine
~ all-purpose thread in preferred color choice
~ bobbin
~ a good pair of fabric scissors
~ pins
~ measuring tool (measuring tape works just fine)
~ and the tools listed below...


.. Okay, so you don't need the sweet tea (athough I highly recommend it) .. ;)

And the iPhone is purely for music .. and looking up sewing how-to's on youtube.


Okay, so let's get started sewing! In the picture above, I have displayed a picture of the settings that I used for these curtains. It will probably be different for each different machine and fabric, so please play around with the settings with a scrap piece of fabric (same material) to adjust as necessary.

STEP ONE: Lay the fabric out so that you have easy access to the sides (do this one side at a time). 


STEP TWO: Fold over the edges about 1/2-inch and press with hands (or use a warm iron and steam press it for better results).


STEP THREE: Fold over the same edge again about 1/2-inch and press with iron again.


STEP FOUR: Pin pin pin! I cannot stress this enough! Pin everywhere and often. There is no such thing as too many pins.


Do this all the way down each side of the panel(s). 


STEP FIVE: Place the fabric in the machine and sew straight down the inside edge of the folded side(s). Sew this with the folded edges on top (so that you can see where you're sewing in regards to the edge of that fold).


Sew all the way down the edge(s) and don't forget to back-stitch at the beginning and ends!


Now to sew the top hem.

STEP SIX: Lay fabric on the floor flat with the folded edges facing up.


STEP SEVEN: Fold the top edge over by about 1/2-inch and press with a hot iron.


STEP EIGHT: Fold the top edge over again and make a 4-inch top panel. Steam this edge with the hot iron as well.


Be sure to measure because you don't want it to be uneven and look awkward.


STEP NINE: Take your measuring tool and slide it across the top of the panel and pin the top in place as you go. I preferred to pin the top and the bottom (just in case) but you'll only be sewing on the bottom.


STEP TEN: Sew a straight line across the bottom part of the 4-inch top panel. See red line in picture below.


You now have made a straight curtain panel for a rod!

 
STEP ELEVEN:
 
Cut the fabric to length. Add approximately 5-6 inches extra.
 
STEP TWELVE:
 
Repeat steps 7-10 for the bottom hem.

If you're like me, and want to take it just a step further to make it look "fancy", then I would invest in some grommets. They're very easy to do, only take a few extra minutes to put on, and give your curtains a little something extra.

 
Just a little tip from doing the grommets: I would suggest placing the two end (outside) grommets in place first and keeping them within about 2 inches of the edge because if it's too long, it will dramatically hang over and not look right. You'll thank me later for this little tip. :)
 
... and your final product ...
 
 
Easy, simple curtains.

Sunday, February 19, 2012

That's sew much fun

Here are some more burp cloths that I made. The one on the right has a terry cloth backing, which is GREAT for absorbancy. The one on the left was just a practice square so now it's a nice, soft place for my camera to sit on my desk. :) It actually fits it perfectly!


I am so motivated to sew, sew, sew although that requires time I don't always have (or want to have) since I want to spend as much time with Cam as I possibly can.

I didn't realize that ironing is a big part of sewing. I think once I find a good, quiet spot for the sewing machine, I might just set up the ironing board as well. I'm the type of person that doesn't like to start a project one night and finish it the next. Especially if it takes a week to get back to it.

I know that sewing is going to take a lot of patience (especially since I'm really starting to get into photography as well now), but I'm willing to work at it.

Side note: I saw lots of fun Superman, Dr. Seuss and other patterns at the fabric store so I'm DEFINITELY going back for more!!

Saturday, February 18, 2012

Sewing Fun!

For Christmas one of my major (big) gifts was a sewing machine from Santa. Thank you mom! I have always had an interest in sewing. In other words, I buy something like curtains and think to myself, "Man, those could really use another layer so less of the sun shines through." Or something to that effect.

After looking at my poor, bare machine sitting on a table for almost two months, I decided to go to a fabric store today and get started! I was quite overwhelmed by the mass quantities of fabric, string, "quarters" and books. There was terry cloth, fleece, etc. I only list two types of fabric because I have no idea what anything else is called. Cotton? No? Yes? Who knows ...


Well whatever the material, I sewed this (let's call it a) burp cloth. I really just wanted to practice sewing and make sure I could number one, do it, and number two, do it in a straight line. I ran through the bobbin right as I finally figured out how to properly thread the top string and not break it. Oh well. You sew and you learn.

I loved the fabric above because it's so vibrant and has fish on it! I thought it'd be perfect for Brad to take Camden to the Boat Show tomorrow with, since I'll be working at the hospital all day. Hopefully he'll get to see Grandpa Jones!!

I really have NO CLUE what to sew next. (Please comment and give me practical, easy ideas.) Please and thank you! :) I think I'll sew another burp cloth and practice using a different type of stitching. Sounds fun! Once I really get the hang of this, I'm going to put some more backing on our bedroom curtains (Cam's too) so that they block more light. I think they are pretty and all, but not-so-much functional.

PS - A HUMONGOUS thank you to my friends Rachel and Angie for inspiring me to sew and making me (and Cam) so many wonderful things! We should have a sewing party soon (aka teach-Kelly-to-sew party). ;)